如何搭建Hexo博客

搭建Hexo博客

✅ 第一步:准备工作

🧱 环境要求

Hexo 依赖两个环境:

  1. Node.js(建议 LTS 版本)
  2. Git(用于初始化与主题)

📦 安装 Node.js 与 Git

你在服务器上执行以下命令即可:

1
2
3
4
5
6
7
8
9
10
11
12
13
14
# 更新软件源
sudo apt update

# 安装 Git
sudo apt install git -y

# 安装 Node.js(使用 NodeSource 推荐方式)
curl -fsSL https://deb.nodesource.com/setup_18.x | sudo -E bash -
sudo apt install -y nodejs

# 验证版本
node -v
npm -v
git --version
1
2
3
v18.20.8
10.8.2
git version 2.25.1

✅ 第二步:安装 Hexo

1
sudo npm install -g hexo-cli

然后创建博客目录并初始化:

1
2
3
mkdir ~/hexo-blog
cd ~/hexo-blog
hexo init

output:

1
2
3
4
5
root@racknerd-12eb736 ~/hexo-blog                                                                                                        [14:59:05]
> # hexo init
INFO Cloning hexo-starter https://github.com/hexojs/hexo-starter.git
INFO Install dependencies
INFO Start blogging with Hexo!
1
npm install

output:

1
2
3
4
5
6
7
8
9
root@racknerd-12eb736 ~/hexo-blog                                                                                                        [14:59:42]
> # npm install

added 1 package, and audited 234 packages in 2s

33 packages are looking for funding
run `npm fund` for details

found 0 vulnerabilities

执行完后,目录结构大致如下:

1
2
3
4
5
hexo-blog/
├── _config.yml # 全局配置
├── source/ # 你写的文章放在这里
├── themes/ # 博客主题
└── public/ # Hexo 生成的 HTML 页面

✅ 第三步:运行 Hexo 博客服务器(本地预览)

你可以先测试博客是否正常运行:

1
hexo server

默认会在 localhost:4000 运行。

🧩 注意:这是服务器内部访问,你本地访问不到(除非你用 hexo s -i 0.0.0.0 暴露外网)

效果展示


✅ 第四步:生成静态网页

1
2
hexo clean
hexo generate

生成后,public/ 目录里就是静态网站。


✅ 第五步:用 Nginx 部署博客

安装 Nginx:

1
sudo apt install nginx -y

然后创建一个 Hexo 博客的站点配置文件:

1
sudo nano /etc/nginx/sites-available/hexo

填入:

1
2
3
4
5
6
7
8
9
10
11
server {
listen 80;
server_name xxx.xxx.xxx.xxx;

root /root/hexo-blog/public;
index index.html;

location / {
try_files $uri $uri/ =404;
}
}

创建软链接启用:

1
2
3
sudo ln -s /etc/nginx/sites-available/hexo /etc/nginx/sites-enabled/
sudo nginx -t
sudo systemctl reload nginx

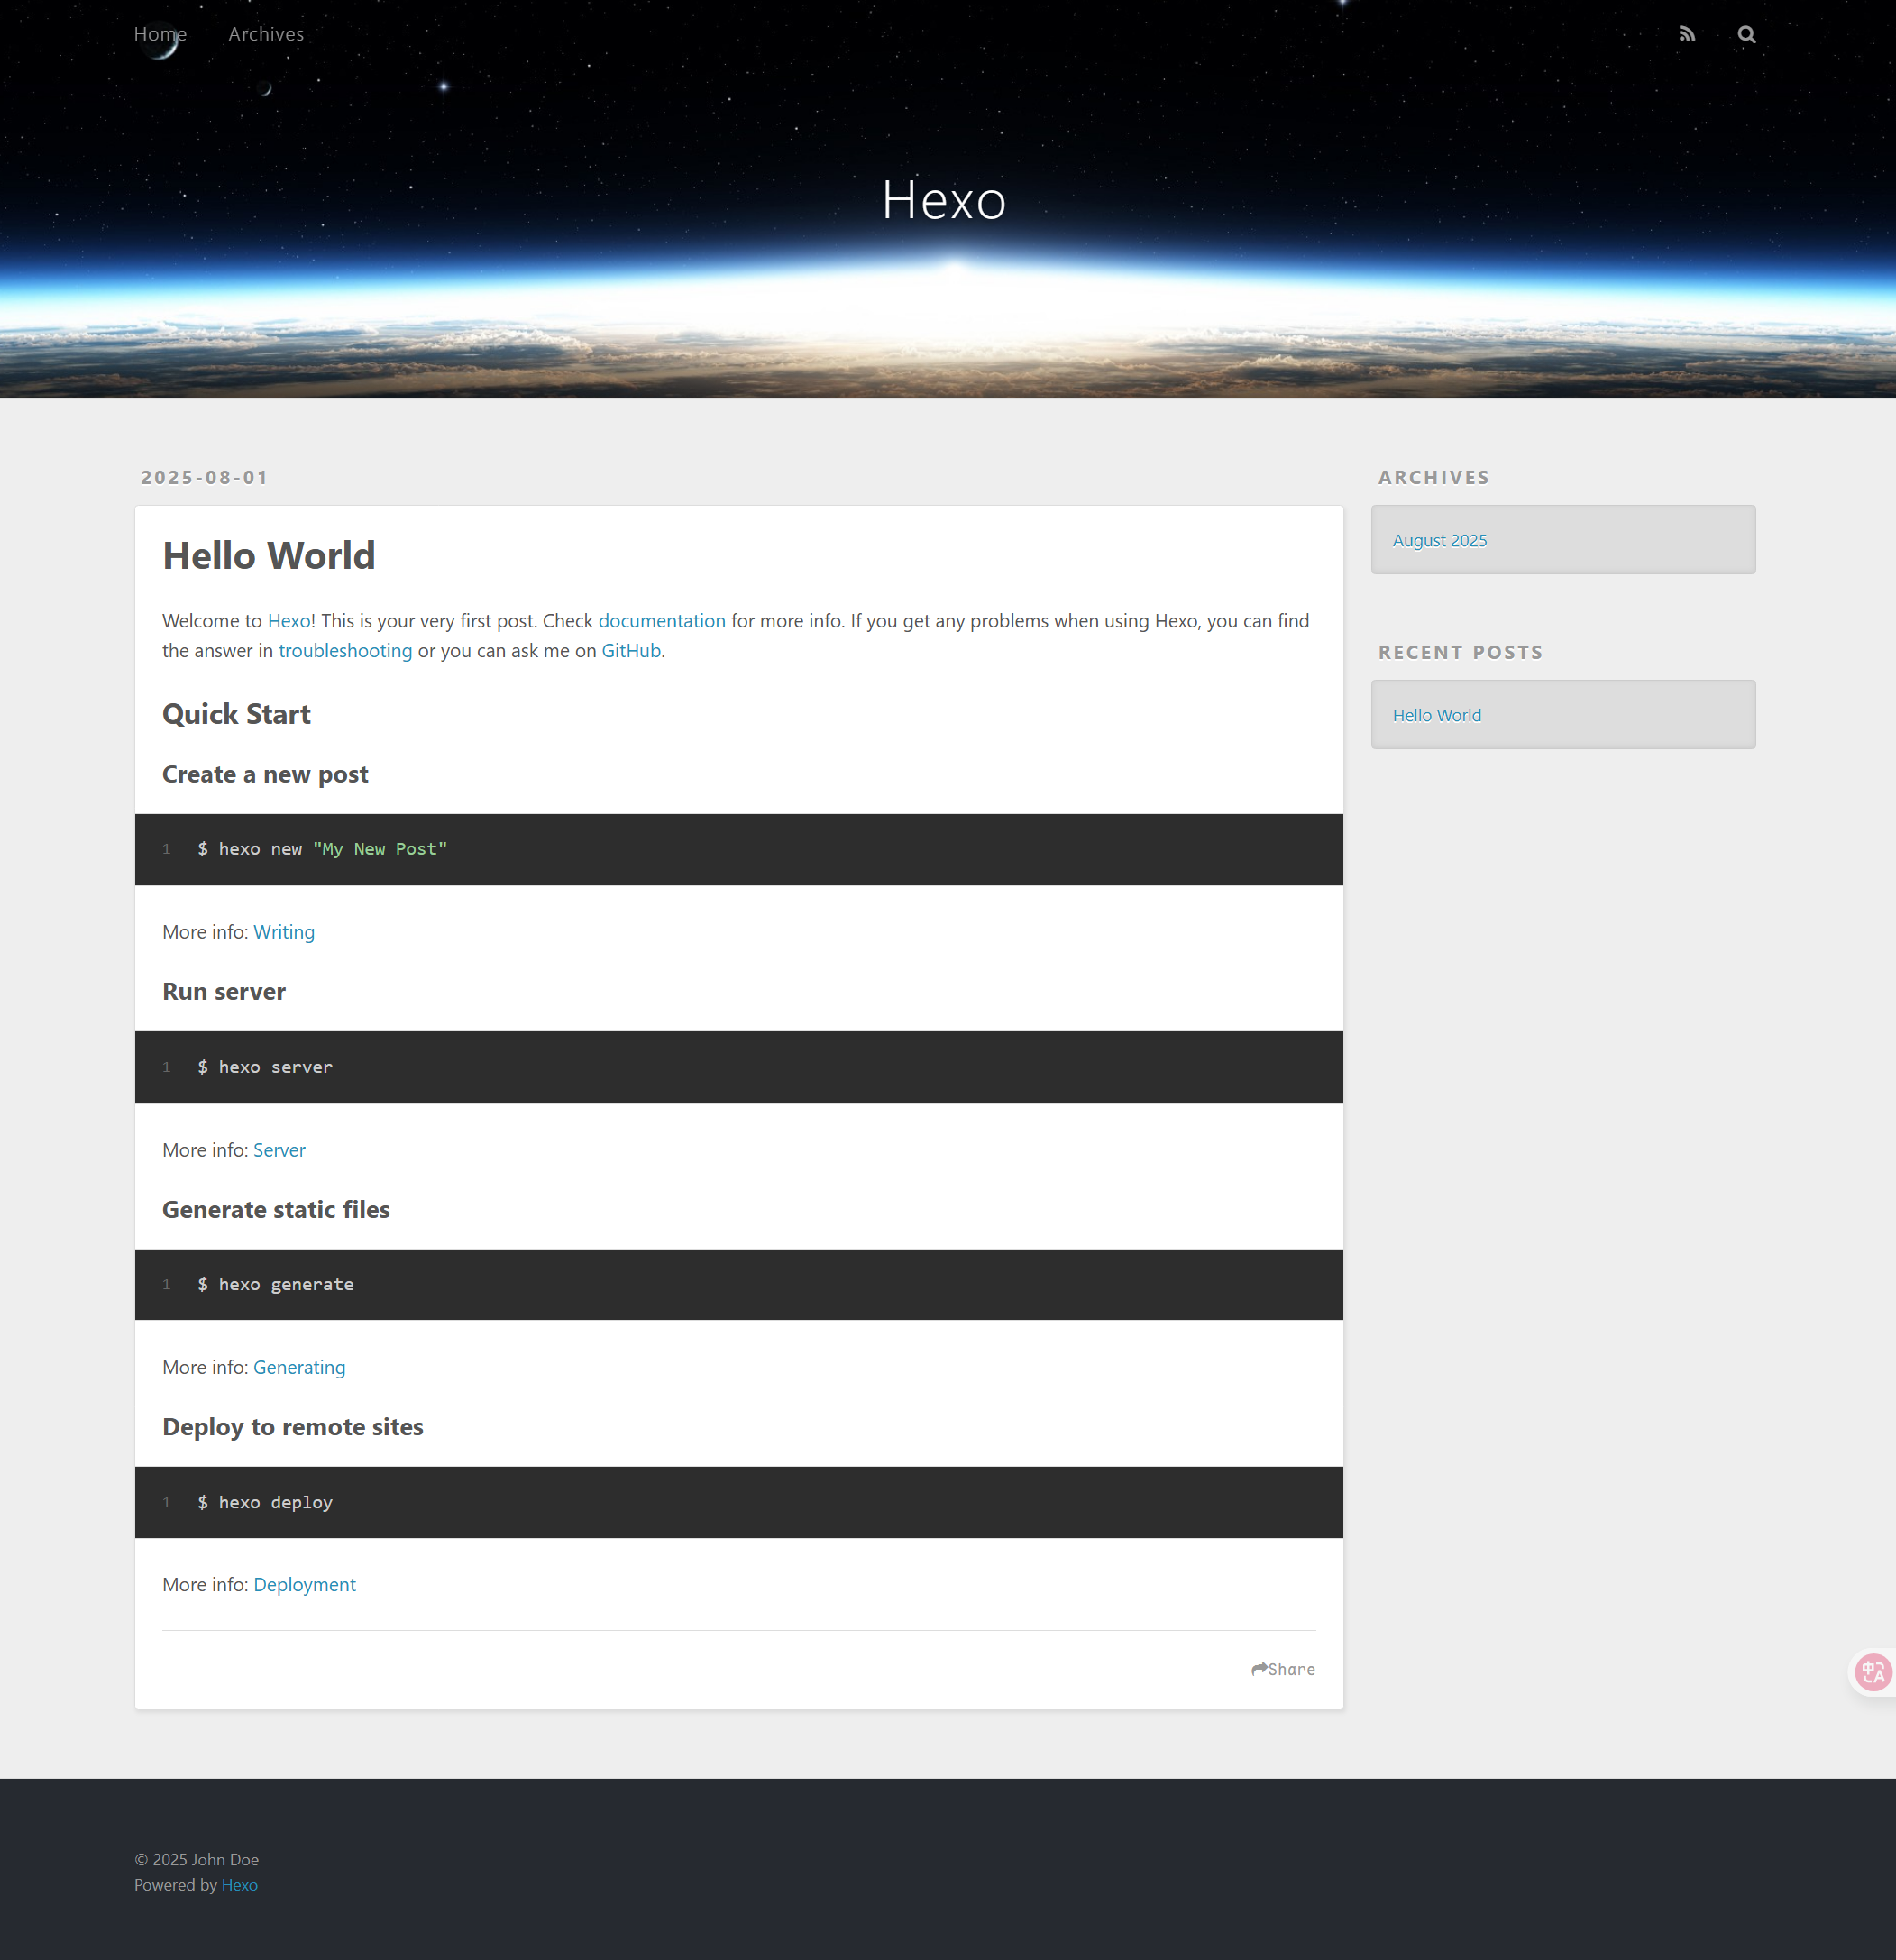
你现在访问你的服务器 IP,就能看到博客了 🎉


✅ 第六步:写文章 ✍️

1
2
cd ~/hexo-blog
hexo new "我的第一篇博客"

它会在 source/_posts/ 下创建一个 .md 文件,编辑后重新生成:

1
hexo clean && hexo g

刷新网页即可看到新文章!


✅ 第七步(推荐):安装主题

以最常用的 Next 为例:

1
2
cd ~/hexo-blog/themes
git clone https://github.com/theme-next/hexo-theme-next next

然后编辑主配置文件 _config.yml

1
theme: next

保存后重新生成博客即可:

1
hexo clean && hexo g
作者

conheaven

发布于

2025-08-02

更新于

2025-08-02

许可协议

You need to set install_url to use ShareThis. Please set it in _config.yml.
You forgot to set the business or currency_code for Paypal. Please set it in _config.yml.

评论

You need to set client_id and slot_id to show this AD unit. Please set it in _config.yml.